Choose the light before the settings
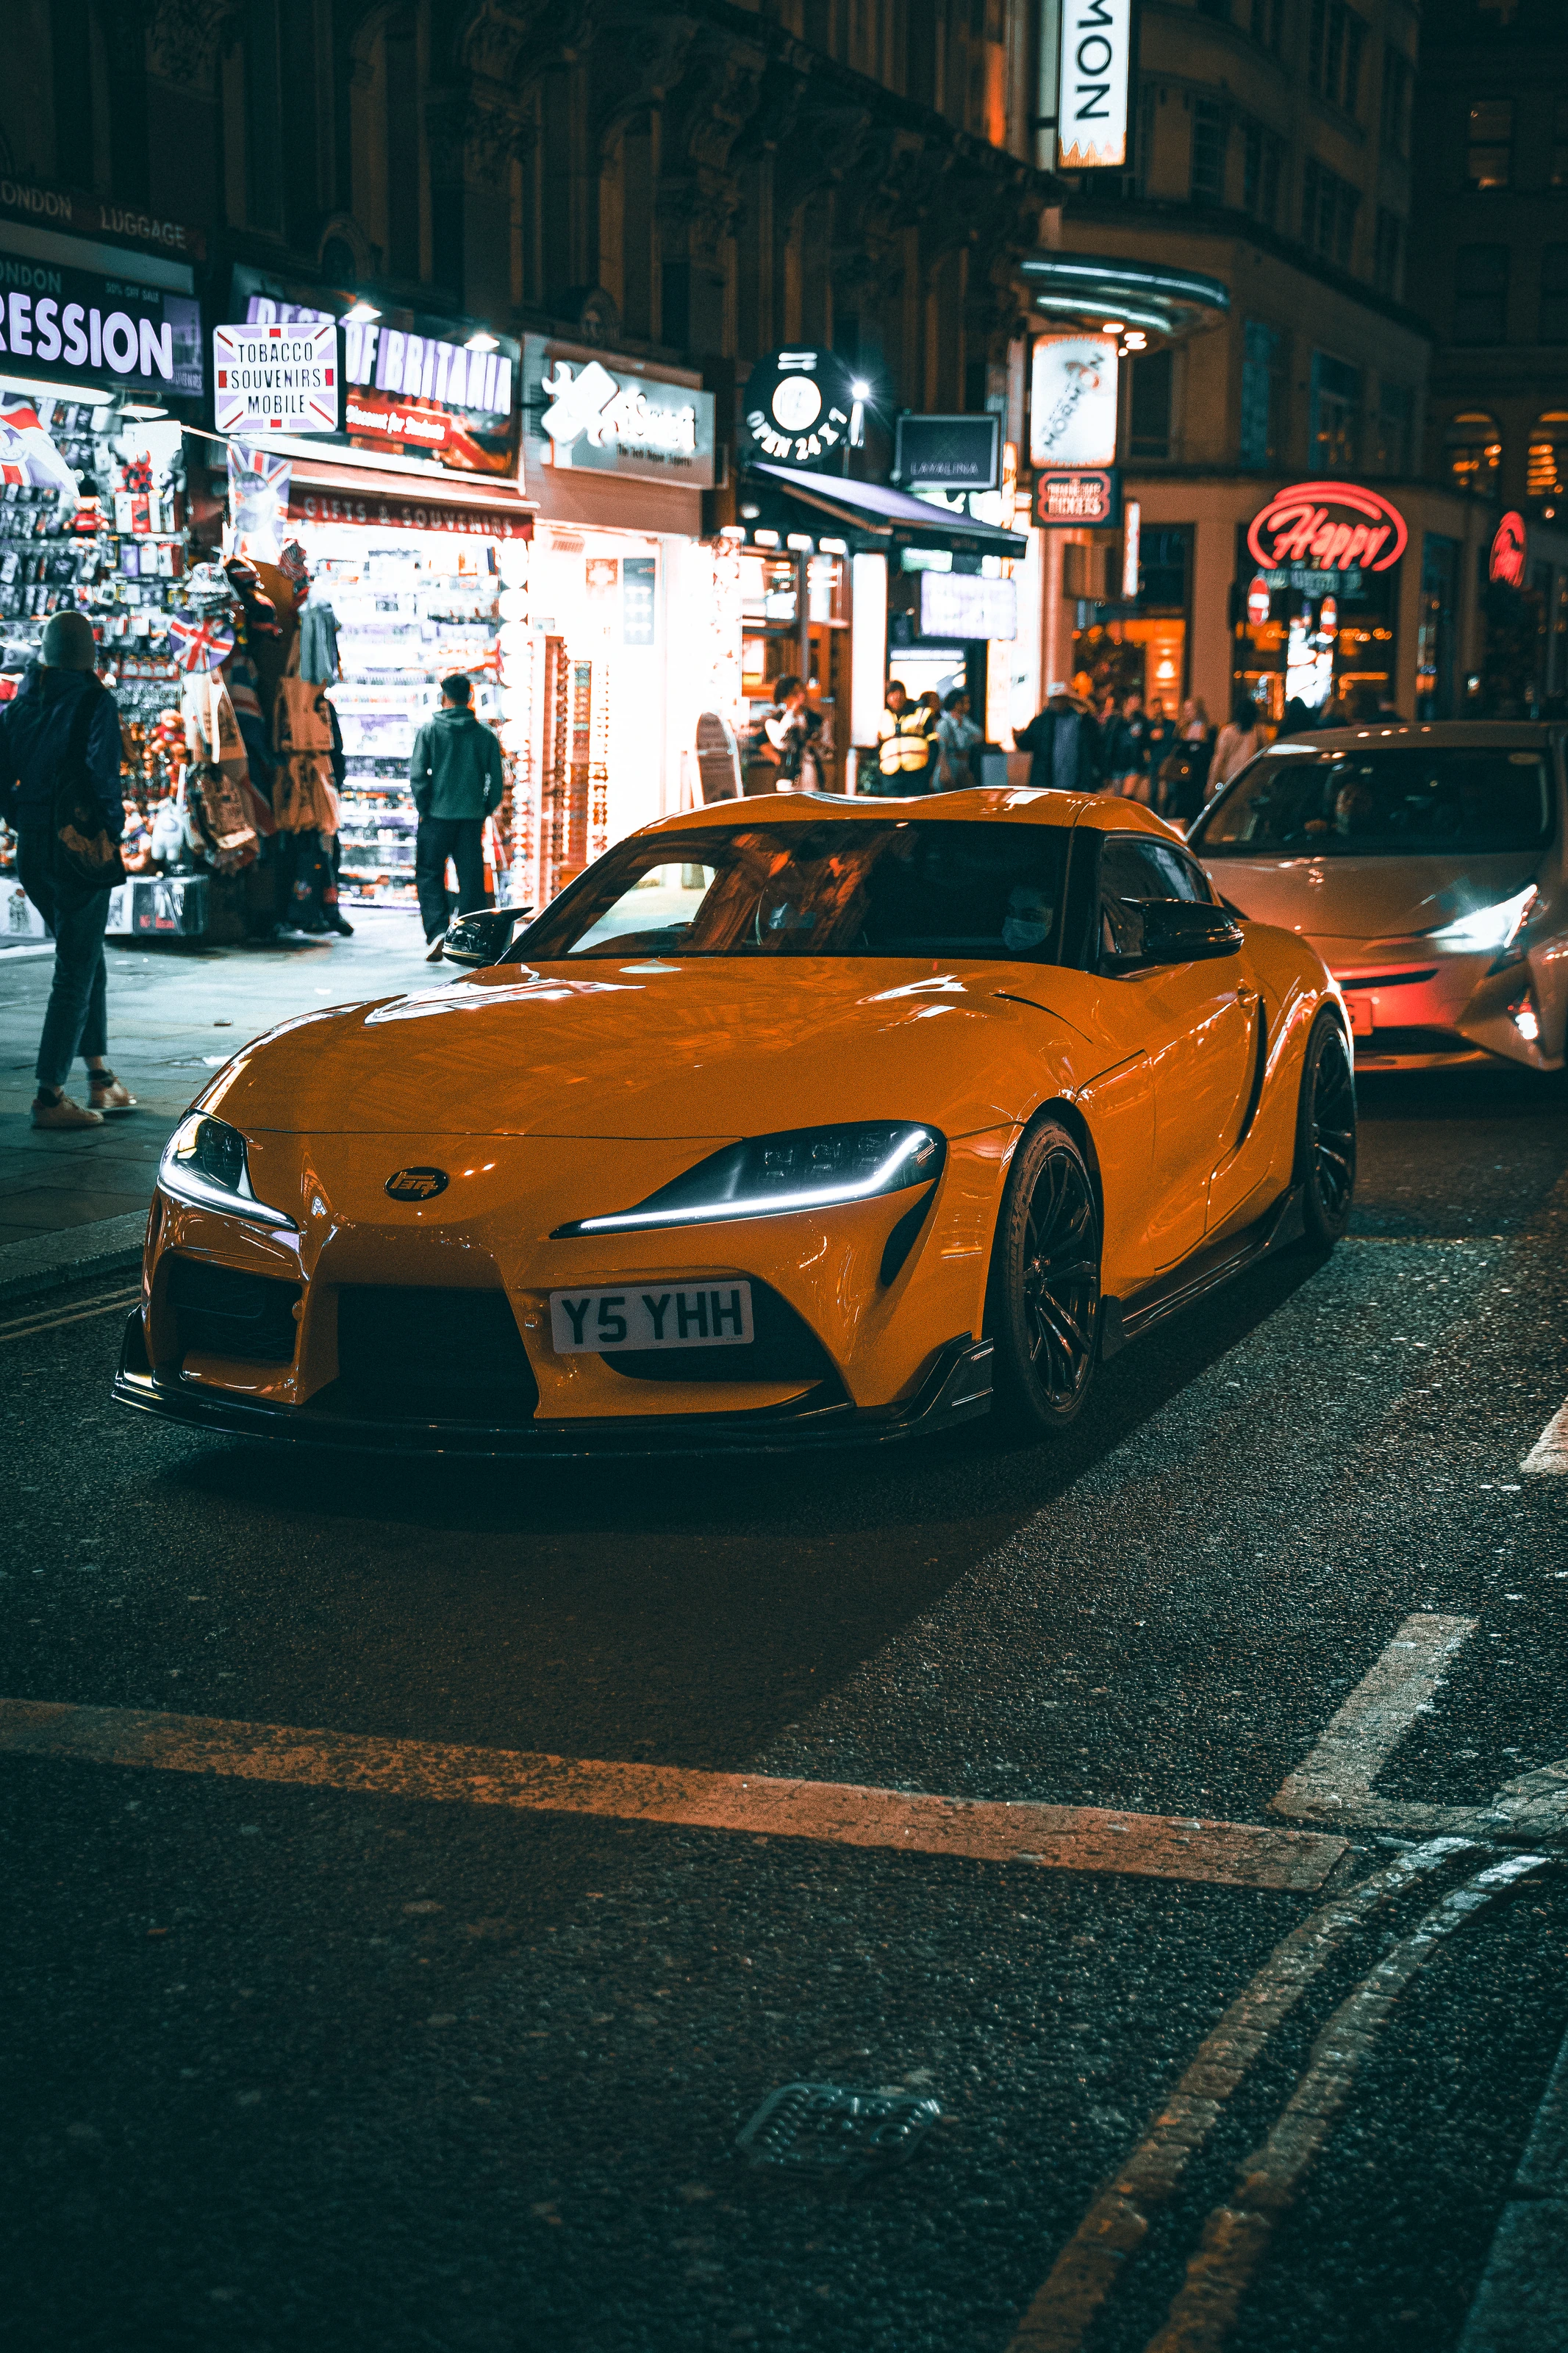
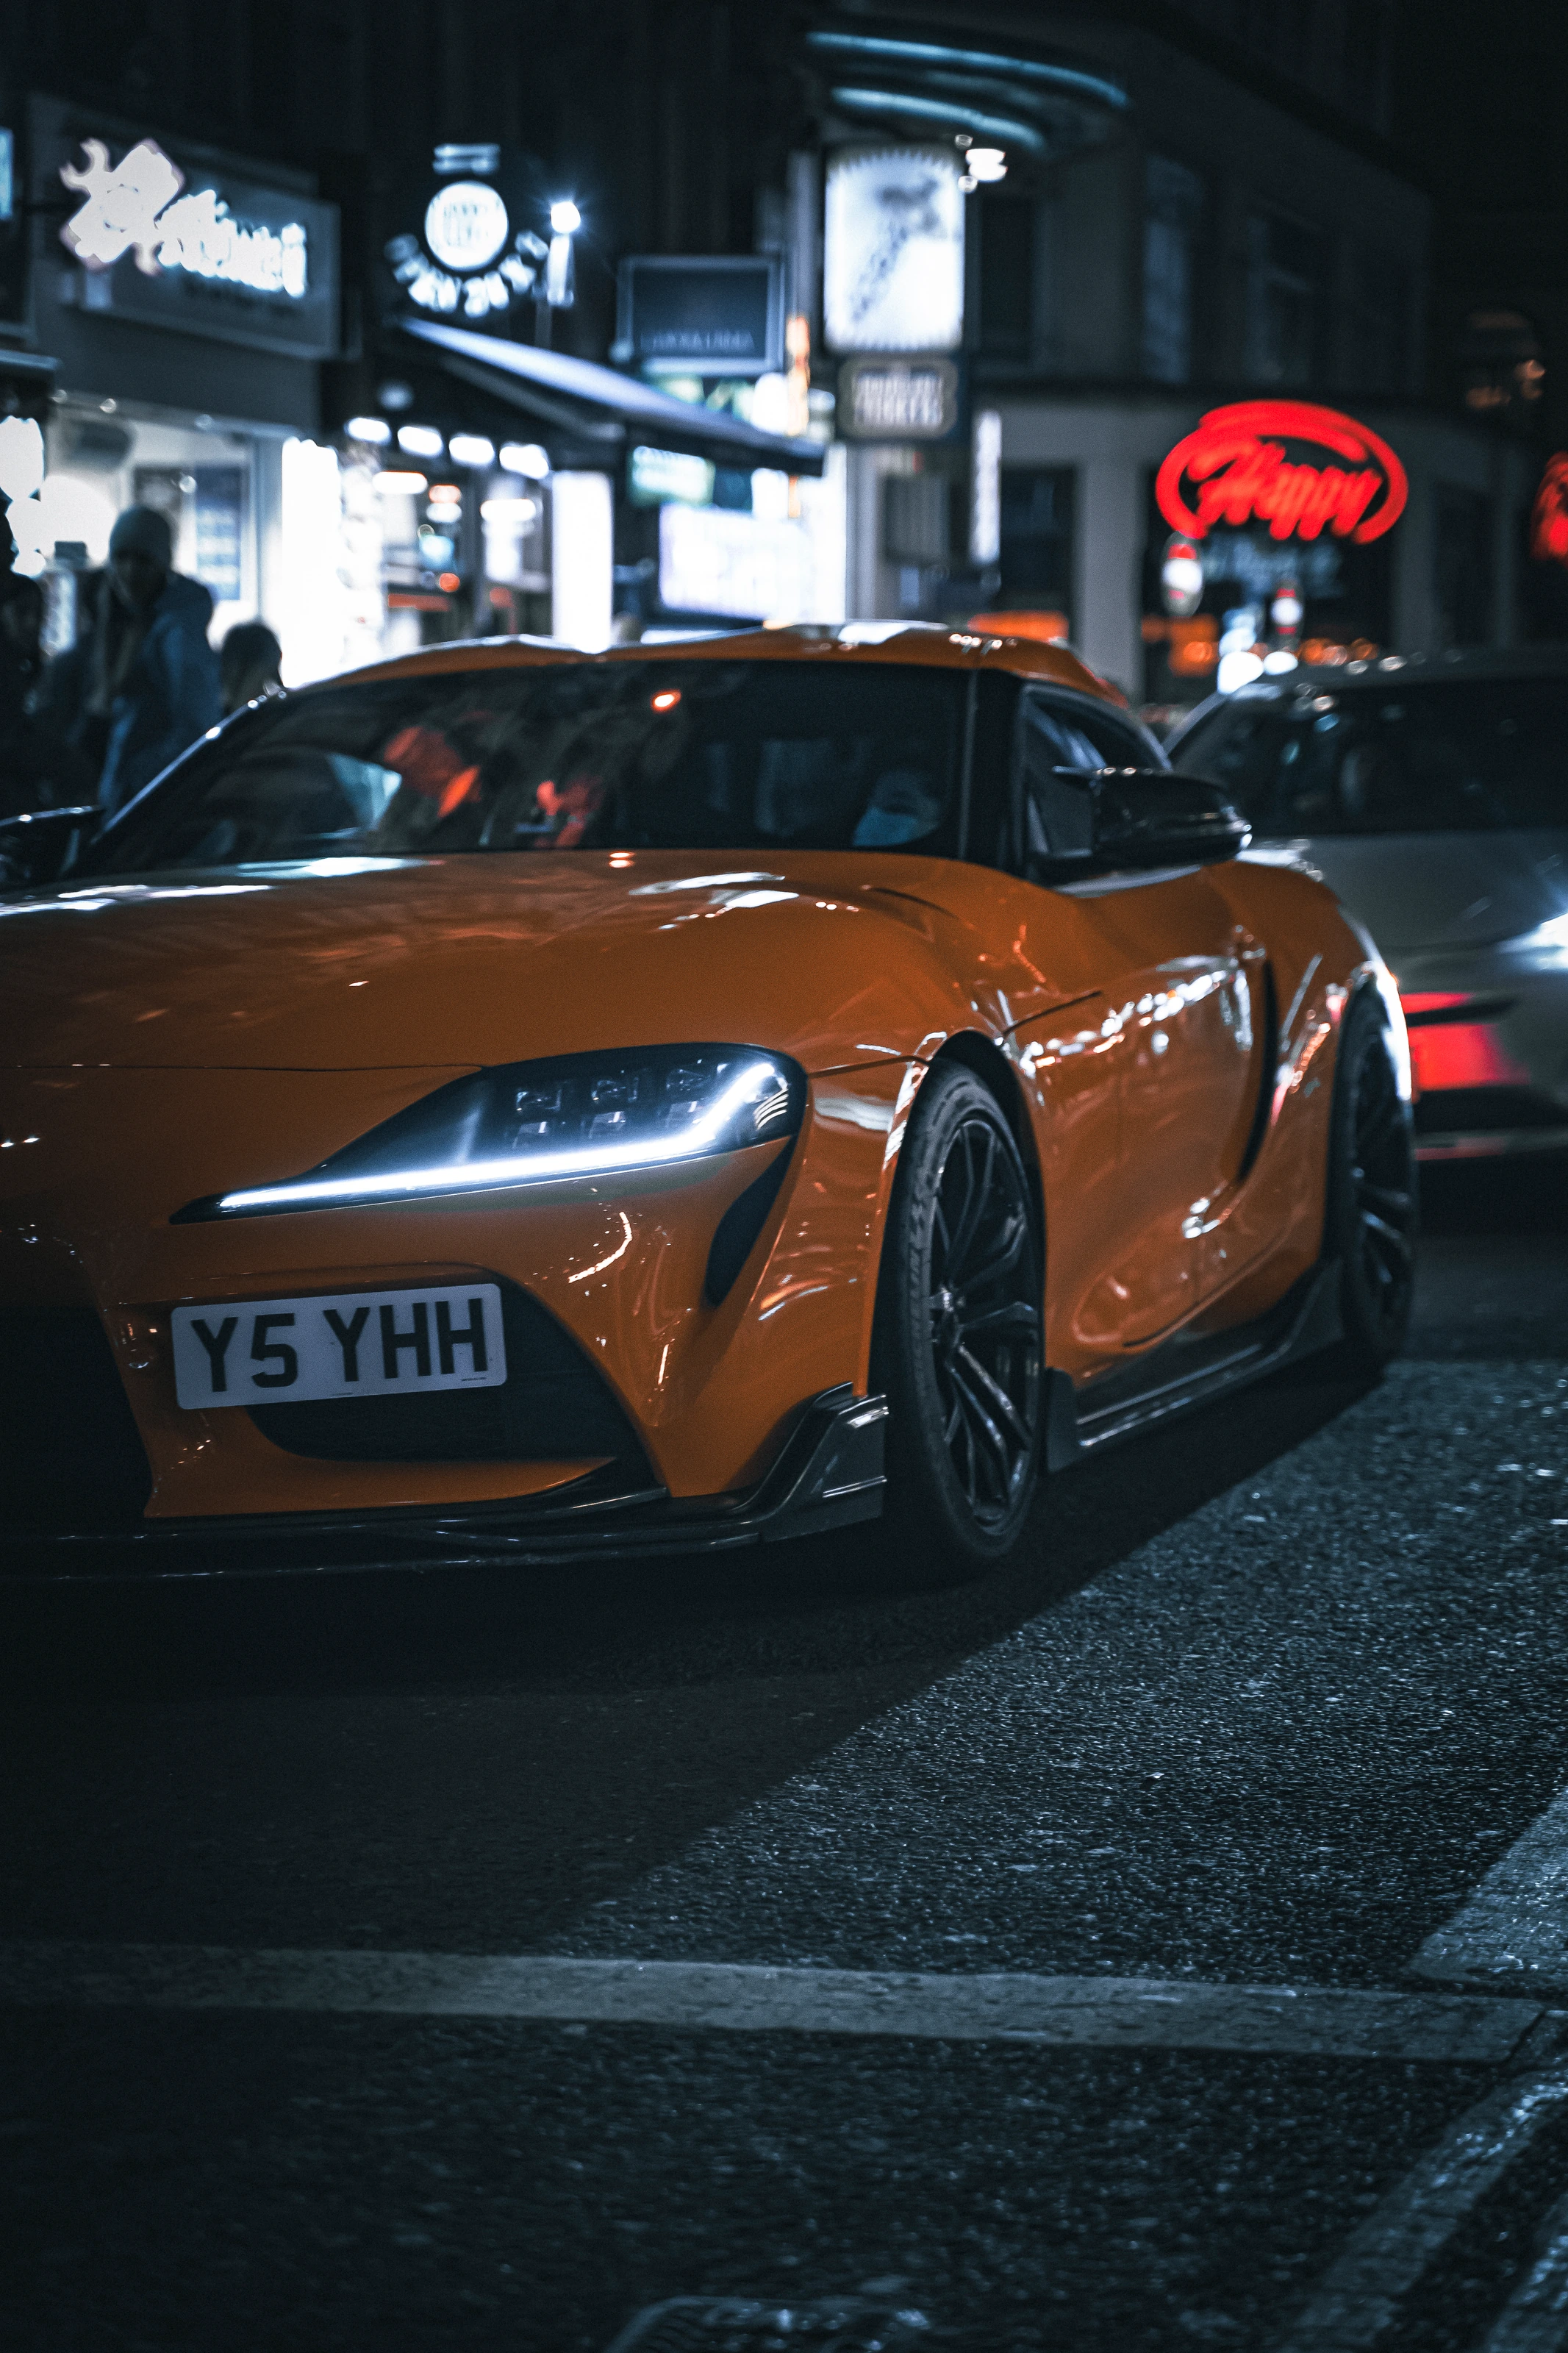
For a planned shoot with a parked car, look for a light source that describes the bodywork. A large lit shopfront can create a broad reflection, while a small lamp creates a sharper highlight. Walk around the car and watch how that reflected shape moves across the bonnet and doors.
Choose a safe, permitted position clear of traffic and keep the pedestrian route open. A parked vehicle makes it possible to refine your composition. Photographing passing traffic is a different exercise: work from a safe position and accept that you have much less control over the moment.
Protect the highlights that matter
A camera’s meter may try to brighten a dark scene until the illuminated parts lose detail. Review the photograph and use the highlight warning or histogram to check the areas you care about. Reduce exposure if a large reflection is washing out the shape of the car.
Do not expect the core of every headlight or bright sign to contain recoverable detail. Sometimes that light source will be white in the finished photograph. The aim is a deliberate balance: useful shape and colour in the vehicle, with bright sources that do not dominate more than you intended.
Match shutter speed to what is moving
With a stationary car and a stable camera, a longer exposure can gather light without immediately raising ISO. A tripod may help when the location allows it. People, leaves and other traffic can still move during that exposure, so decide whether blur adds to the image or distracts from it.
For handheld work, start with a shutter speed you can hold steadily at your chosen focal length, then review at full size. For a moving car, the direction and speed of movement also matter. A longer exposure gives streaks or blur; a faster one needs more light, a wider aperture or a higher ISO. Change one variable at a time so you can see what solved the problem.
Find an edge the camera can focus on
Dark, smooth paintwork may give autofocus little to work with. Try a clear contrast edge on the car, such as a body line or the boundary of a light, then check that the important part of the vehicle is sharp. If the car is moving, continuous focus or tracking may be more useful than locking focus once.
Do not automatically open the lens to its widest aperture. At close range, a shallow depth of field can leave part of the car soft. Decide whether the photograph is about one detail or the whole vehicle, then choose a position and aperture that support that decision.
Keep some of the night in the edit
Adjust white balance with the main subject in mind. Different signs and lamps can cast different colours in the same scene, so making every surface neutral may remove the atmosphere. If you shoot RAW, use that flexibility to test the balance rather than pushing every shadow towards daylight brightness.
Review noise reduction and sharpening at the final viewing size. Strong processing can make paintwork look smooth while removing small details. Choose the frame with the best focus and shape first, then use the edit to support the light already in the photograph.